
The Northwest Overland Rally 2019 was our first time attending an overland rally, and it was an event full of first time experiences.
From June 20th through June 23rd we camped, met overlanders, attended classes, and won a few prizes. But before all of that could happen we had to prepare ourselves, the Jeep, and our gear. We knew we needed a rack because space is very limited with 3 people and 2 chihuahuas in the Jeep. The back cargo space gets filled up quick with just our bare essentials. To understand what we did and didn’t need, liked and didn’t like, we camped for 2 nights a month before the event, and the Jeep was filled to the max. It was a good learning experience that highlighted our need of a roof rack.
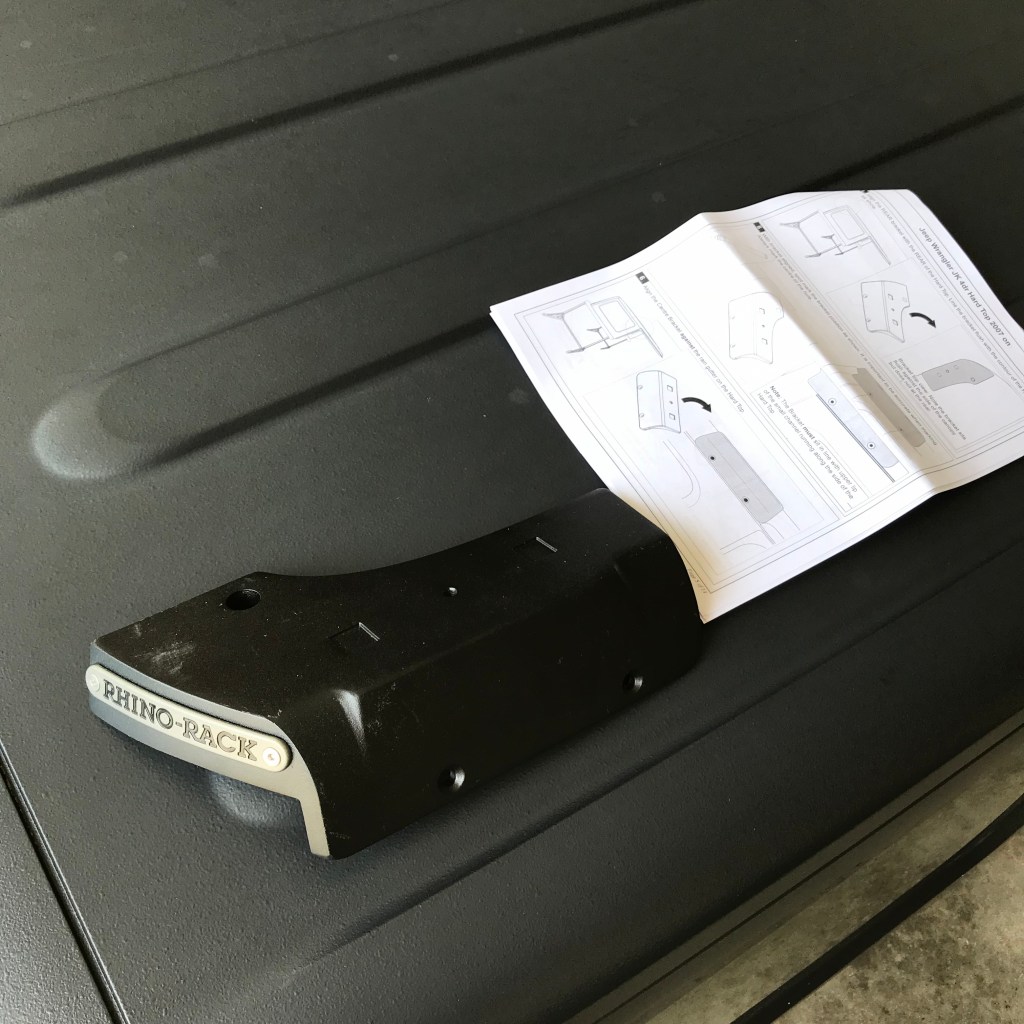
Even before our first camp outing I was interested in purchasing a roof rack, so I had been spending time researching the subject. There are many options for roof racks, so it took me a while to narrow it down to 2 brands. Rhino-Rack and Gobi racks. I like the Gobi racks because it seemed like I could utilize the outer shell to mount things on it, but the availability of the rack, price point, and the fact that it was metal dissuaded me from it. Rhino-Rack was the winner in the end. Ultimately I felt it supplied the most slicker look, and had more customization options out of the 2 racks. Yes, I knew about Front Runner, but I liked Rhino-Rack and the backbone option. The thing that I was not too keen on was having to drill into my hardtop.
The rack came with good instructions, and since I don’t plan to part ways with this Jeep anytime soon I went for it. Don’t get me wrong, I still spent about an hour making sure my placement of the back bracket was correct before I drilled holes on the hardtop. That was the one thing that I was anxious about, since there was no clear outline to follow like the other 2 locations. I also watched videos on the rack install, but none really went too deep on the placement of the back brackets. So I actually paused the video when the brackets were in the shot to see how they placed them.
I had to make a decision, so I decided on what looked like the best option, made the marks, and drilled the holes. I wouldn’t find out if things lined up until it was all done, and the rack was being placed. I just hoped I chose the correct placement for them and the rest of the brackets. Making the marks, and drilling the holes was not too hard, but it was still a little scary, these hardtops are not cheap!

The brackets go together with interior support bars which add the extra support for the roof rack. This part was straight forward and we manged to get everything ready to place the hardtop back on the Jeep. Before putting the hardtop back we had to prepare the Jeep by placing two brackets on the roll bars. Getting the hardtop back on was a little bit tougher, and I had to ask a friend to come help me place it back on the Jeep.
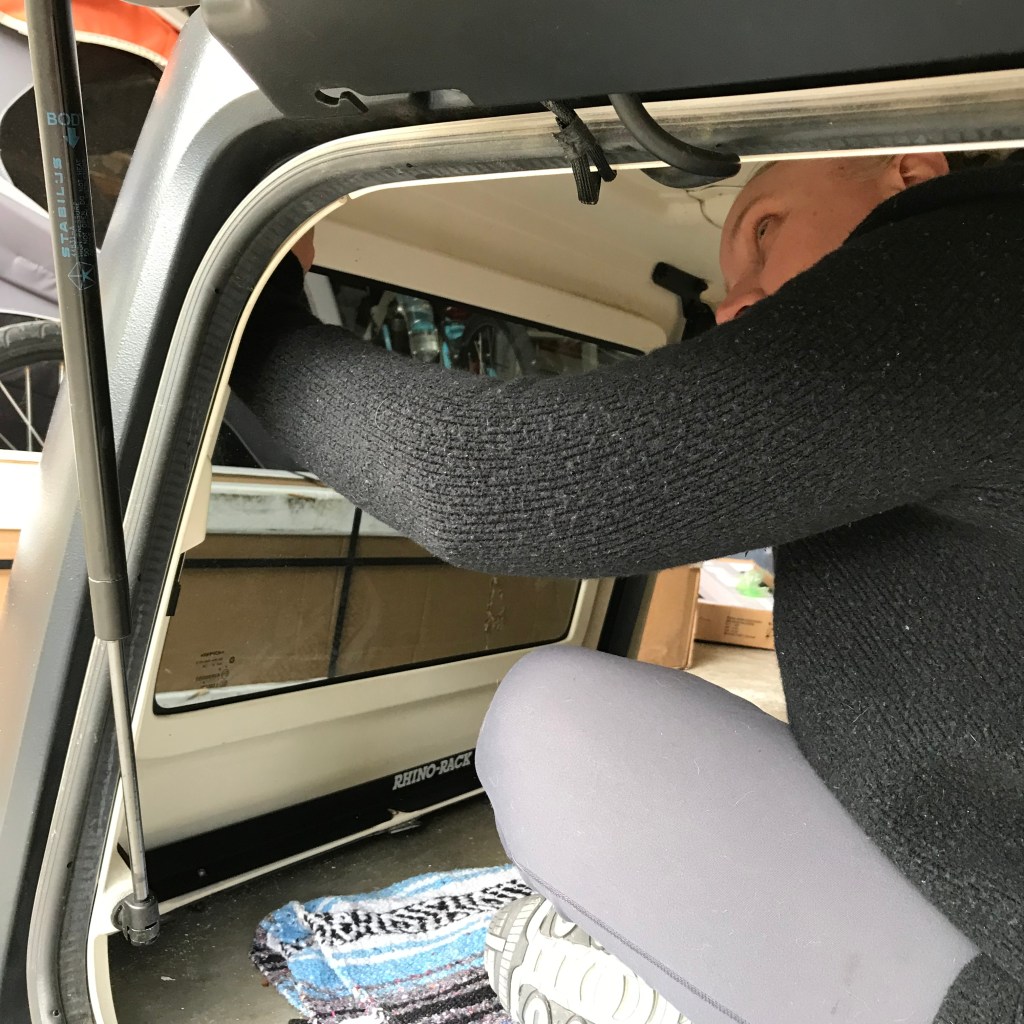
Meghan helped add the support bars. 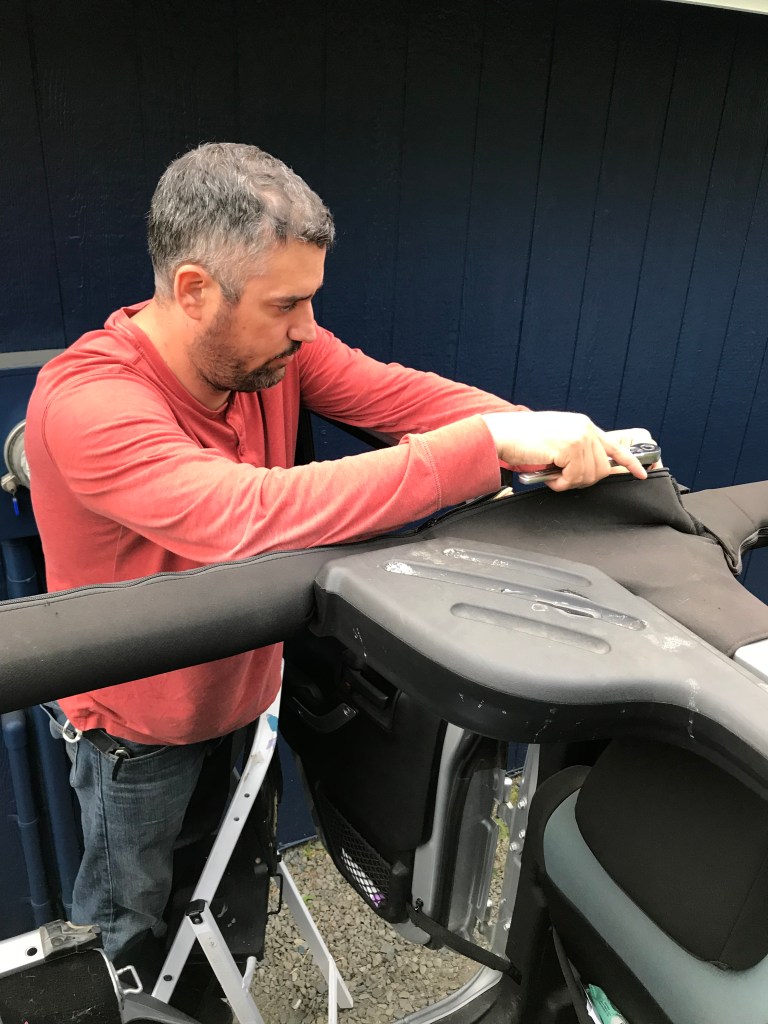
Getting the support bracket ready.
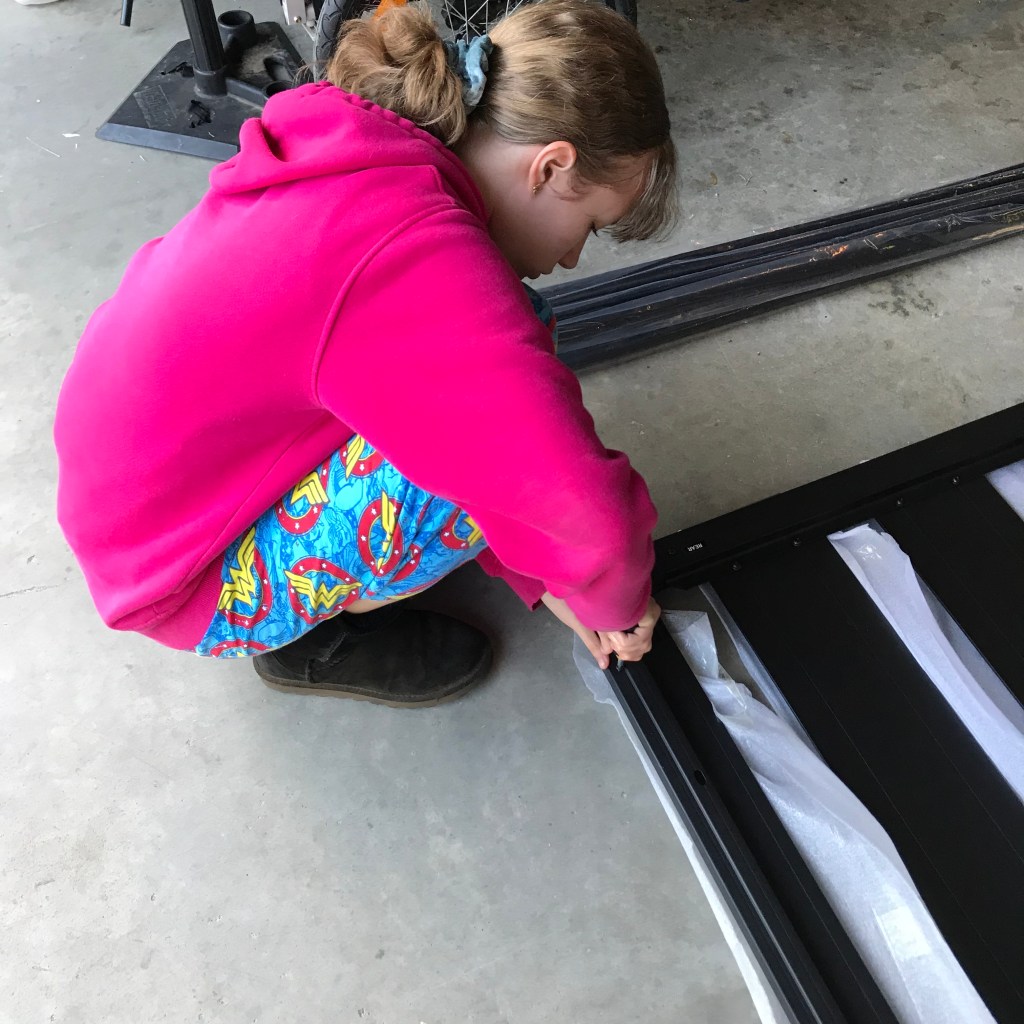
Once the hardtop was on we started assembling the roof rack. I had Kaitlyn help put it together. It didn’t take long, but one thing I didn’t think about was how easily the aluminum would bend if I tightened the screws on too hard. Thankfully I noticed what I was doing fairly early, so the rest of the slats didn’t get bent.
Once the rack was complete Meghan and I placed it on the the Jeep. This turned out to be a little tricky. At first I tried putting the legs on the roof rack, but that didn’t work because it turned out I wasn’t able to tighten the screws that attach the legs to the brackets with the roof rack in the way. We then had to bring it back down. I had to remove all 6 legs and attach them to the brackets first. Then it was a matter of balancing the rack over the legs and placing it on the correct cross beams. The Jeep is a little high, so it wasn’t easy since the legs were in the way. We had to be able to reach high enough to move the rack over the legs. We managed to get the rack in place, and what was left was tightening the rack to the legs. This took a bit of time because reaching in between the rack and hardtop is tough. It just took patience. After everything was set in place I went through and tightened things one last time.
The brackets in place. 
The first leg to go in place.
The rack instantly changed the look of the Jeep, and provided with more carrying capacity. The rack was put to good use because right around the corner was the Northwest Overland Rally. As you will find out later, even with the rack, the Jeep was loaded to the max, so I don’t think we would have been able to make it to the rally without the rack. This is partly due to us still learning what we need and don’t need, and wanting things that we probably could have been without. But it was our first long camping trip, so I think that’s allowed!

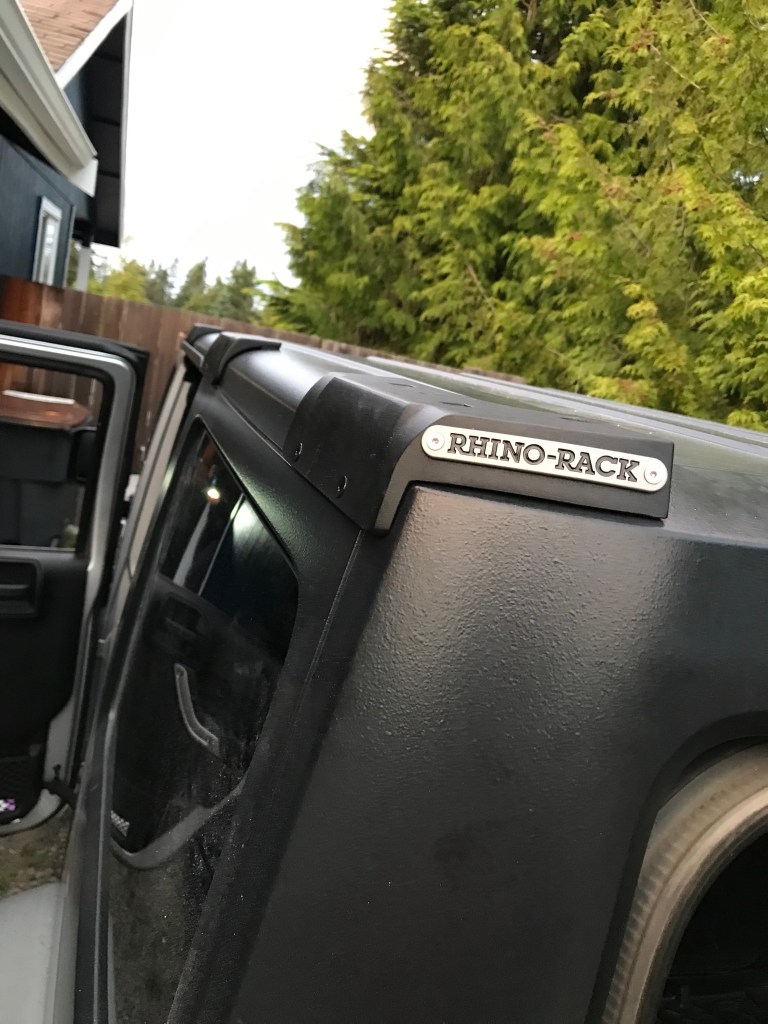
The finished product. 
The low profile is great.
I think the rack looks great on the Jeep. I added some tie-down points to the rack, so it’s ready to carry gear up there at a moment’s notice. Next post you will see how everything looked on the Jeep for the trip. We loaded so much that it had some visible sag in the back, but she still managed to haul us to the NW Overland Rally and back.

Cool. So much excitement. Love all of you working together. Hard work. You are good with tools. 👍
LikeLike
Thank you. 🙂
LikeLike